Saturday, November 30, 2013

Liberty Joe

The November Schnibbles pattern is Morning Joe. I named my version Liberty Joe because of the colors used and because I took so many "liberties" with the pattern.

When I started out I planned to make the version from the back cover of the pattern, with 16 small stars and 5 large stars.  Mostly due to time issues, I decided to stop after the small stars were done. I added 8 extra sashing strips and 5 extra cornerstones. 

I also added cornerstones to the middle pieced border and made the outside border narrower.


I would love to make the full sized version someday, but for now I'm happy with my modifications. My version finished at approximately 33 x 33 and used 30 charm squares of Midwinter Reds by Minick and Simpson.

I've got to go get ready to head out to my LQS for Small Business Saturday. Have a great weekend!

Friday, November 29, 2013

Charity Quilts

Some of the folks at my office adopted a brother and sister for Christmas this year.  The girl is 5 and likes Tinkerbell, so I put together this “Quilt In A Day” for her.  


It could not have been easier to do.  After going through some of my scraps I found a number of width-of-fabric strips that became the basis for this quilt.  Most of the fabric was from my stash and I just cut it into varying widths from selvage to selvage.  I also found a piece o batting that was about 48 by 55 - perfect.  I purchased some pretty purple flannel Tinkerbell fabric for the backing.  

I watched this YouTube video by the Missouri Star Quilt company, but instead of spray basting, I  pin basted the batting and backing.  Also instead of starting at one end and working toward the other end, I started in the center and worked first toward one edge then the other.  I simply laid two strips, right sides together across the center of the batting/backing and sewed them together, quilting them to the batting/backing at the same time.  Continue building towards the edge in one direction, removing pins as you go, then turn the quilt around and build out toward the opposite edge. 
When you have covered the batting, or almost covered the batting, square up the edges and apply binding.  Easy-peasy.  My version finished at 42 X 50 inches.  Other than hand sewing the binding to the back of the quilt, this was entirely completed in one day.  The flannel backing makes this quilt so soft and cozy.  I love it.  
We were told the 12 year old boy likes football and baseball but not given any teams he favors.  Since the generic football and baseball fabric at Joann’s was kind of juvenile for a pre-teen, I picked up one of those no-sew fleece throw kits with a football theme.  Instead of cutting the strips along the sides and tying it, per the directions, I sewed it right sides together around all the edges but leaving about 10" open for turning.  I turned it right sides out, folded the unsewn edges in and top stitched all the way around the throw.  I'm a lot happier with the finished edge look than the tied edges look.
Maggie wanted to get in on the picture.  In addition to all her skin, allergy, and arthritis issues, we just found out she also has diabetes.  So we met with the vet Wednesday to learn how to give her insulin injections and learn all about how to deal with this latest issue.  Poor pup, we just love her so much.  Whatever it takes to keep our sweet girl going, well, we're going to do it.  She's part of our family.

Remember theGoodbye Quilt, well Jo received it and plans to quilt it to donate to the victims of last week’s tornadoes in the Midwest.  I’ll post a picture of the finished quilt If she posts one on her blog or sends one to me.


Tuesday, November 26, 2013

Twinkle, Twinkle Little Stars


192 half-square triangle squares! It took way longer to trim all these squares than it took to sew them!


I'm making s-l-o-w progress on this month's Schnibbles pattern, Morning Joe. My progress wasn't helped by our Boston get-away or our wedding anniversary - 27 years last week! But life is more than just quilting (really??!!).


 I'm making the version from the back of the pattern, but I'll be making a few modifications.  Check back later this week to see the finished top.

With Thanksgiving this week, I have a four day weekend coming up. Since our Thanksgiving is very low key, with just me, my husband and son, I hope to get in some serious sewing time.

I don't do any shopping on Black Friday - I don't like crowds and the rushing around, and waiting in lines takes the Christmas spirit right out of me. I will be heading out on Small Business Saturday to visit two local quilt shops, a family-owned bookstore and a locally-owned hardware store.  How about you?  Do you join in the shopping frenzy on Black Friday?

Monday, November 18, 2013

Urban

The other side of my personality is the one that loves city life. We enjoyed a quick getaway to Boston for an overnight last weekend.


It was our third visit this year. We like to stay in what we now think of as "our neighborhood". For the last few years we always stay in the downtown Financial District, near Quincy Market and Faneuil Hall. We like to wander these streets and have favorite restaurants and bars we like to visit.


On this trip, we spent time in the historic North End.  We wandered down Hanover Street to the statue of Paul Revere making his midnight ride, then past his home that's still standing. We ate at an Italian restaurant, Limoncello, that had awesome meatballs, and made our way into Mike's Pastry, where we had some delicious desserts.

Near our hotel is this men's clothing store that's in a building with some great windows. I always want to walk past this store. To my eyes, these look like hearts. I think this shop is either on Milk Street or Water Street.


Here's the Marriott Customs House by day and night (it's the tall building with the clock tower):


At night we took in the Celtics vs Magic basketball game (the Celts won!), then walked back to our hotel.


We love this city of Boston.

Friday, November 15, 2013

Adirondack

You may have wondered why my blog is titled "Adirondack Urban".  It's because I have a split personality! Part of me loves time in nature, being alone in the woods, in or near the mountains, preferably near water.  Part of me loves city life with all it's conveniences, people, and the hustle and bustle. Over the last week I had time to nurture both sides of my personality.

First up, the Adirondack side:


In my opinion, late fall is the best time to go for a walk in the woods. There's no bugs. The leaves are off the trees and much of the underbrush has died back, so you can see into the woods for a long way.


The leaves underfoot make a satisfying crunch as you walk. Or the thick blanket of pine needles muffles your steps.


You can see quirky shaped tree trunks, like this one with two burls,


Or this bent one:


You see berries, like these winterberry and barberry bushes.


Or just beautiful bits of nature like this giant root system from a huge tree that blew down, this lone cattail or this log with moss and some critter's leftover meal:


A few years ago, when I could still run, I participated in a series of 5K (3 mile) trail runs over these same paths.  I can't run any more, but it can still enjoy these woods.


Thursday, November 14, 2013

The Goodbye Quilt

A little more than twenty years ago, I joined the Hudson River Piecemakers quilt guild when I was living in Corinth, NY.  The very first meeting I attended, in either late 1991 or early 1992, I paid $1 and received fabric and a pattern to make the block of the month. The next month, I brought my finished block back and wrote my name in a slip of paper. What do you think happened next?

You guessed it, my name was drawn and I won all the finished blocks. The pattern was called Laurel Leaf.  It is traditionally set with the blocks crossed, like this example from the Quilt Index:


Unknown, quilter. Crossed Laurel Leaf. circa 1850. From Rutgers Special Collections and University Archives, The Heritage Quilt Project of New Jersey, Inc.. Published in The Quilt Index, http://www.quiltindex.org/fulldisplay.php?kid=4A-7F-EA4. Accessed: 11/13/2013

I didn't receive enough completed blocks to set mine traditionally and still have it fit a twin sized bed, so I put them together with each block on point, added side setting triangles and a border and called it done.


Except that I was never happy with the non-traditional  setting. So, I never quilted it. This quilt top has been folded up in a plastic storage bin for more than 20 years! It's stayed folded and packed up at three different houses.

After reading that Jo will long arm quilt tops for charity, I decided it was high time this quilt gave someone warmth and comfort, so I contacted Jo, got the necessary details and made up my mind to send her the quilt top. When I took the quilt top out of the bin, I noticed I also had about 4 1/2 yards of matching backing fabric! Perfect! While trying to iron out 20 year-old wrinkles (only needed a bit of steam and out they came), I noticed that some of the appliqué stitches had come undone.


So I did my best to repair that block.

I also noticed that some of the appliqué is rather crudely done, and not even in matching thread! I think that just adds charm, so I let that block be.


I'm so happy that someone will finally get some use of this quilt top. So, I'm calling this one the Goodbye Quilt.  I have my pictures of it and my memories of how I came to appliqué and piece it.

Good bye, quilt.

Thursday, November 7, 2013

Cleaning and Managing My Scraps

Over the last couple months I've been pretty busy so I just grabbed whatever free time I could to sew and let my scraps lay where they fell while the lint piled up on my design wall.  I couldn't stand the mess any more so I've been cleaning and managing my scraps.

I used this great tip from Nicole involving freezer paper and an iron to take the lint and stray threads off the design wall.  It didn't get every last thread, but it sure looks a whole lot better than it did!


Since I have a large roll of freezer paper right in my sewing room, I can clean off the design wall regularly - no more excuses!

I've also just recently found Bonnie Hunter's blog and was motivated to try her Scrap Users System.  I gathered all the loose scraps (meaning all those scraps not currently residing in one of my scrap bins - you know the pile at the end of the cutting table, that bin of stray charm pack squares, that other pile of scraps on top of the bookshelf) and I got busy cutting them into useable squares and strips. If it's over 12" long, Bonnie cuts it into strips. Shorter pieces get cut into squares.  The sizes I used were 2 1/2", 2", 1 1/2", and 1" strips (the 1" strips I'll probably use for string blocks). I also cut 5", 2 1/2", 2", and 1 1/2" squares. Bonnie doesn't cut 5" squares but since I make a lot of Schnibbles patterns, I figured I'd find a use for that size square. I also didn't cut any bricks, I figure I can cut those out of some strips if I ever need that size.

It took a good number of hours over the last couple weeks, but all the loose scraps have been tamed. Next up are those scrap bins!!

Although this has been a chore getting started, the key to making this method manageable is to cut up those scraps as soon as you finish whatever you're working on. As Bonnie says, it's like doing the dishes right after dinner instead of letting them pile up.

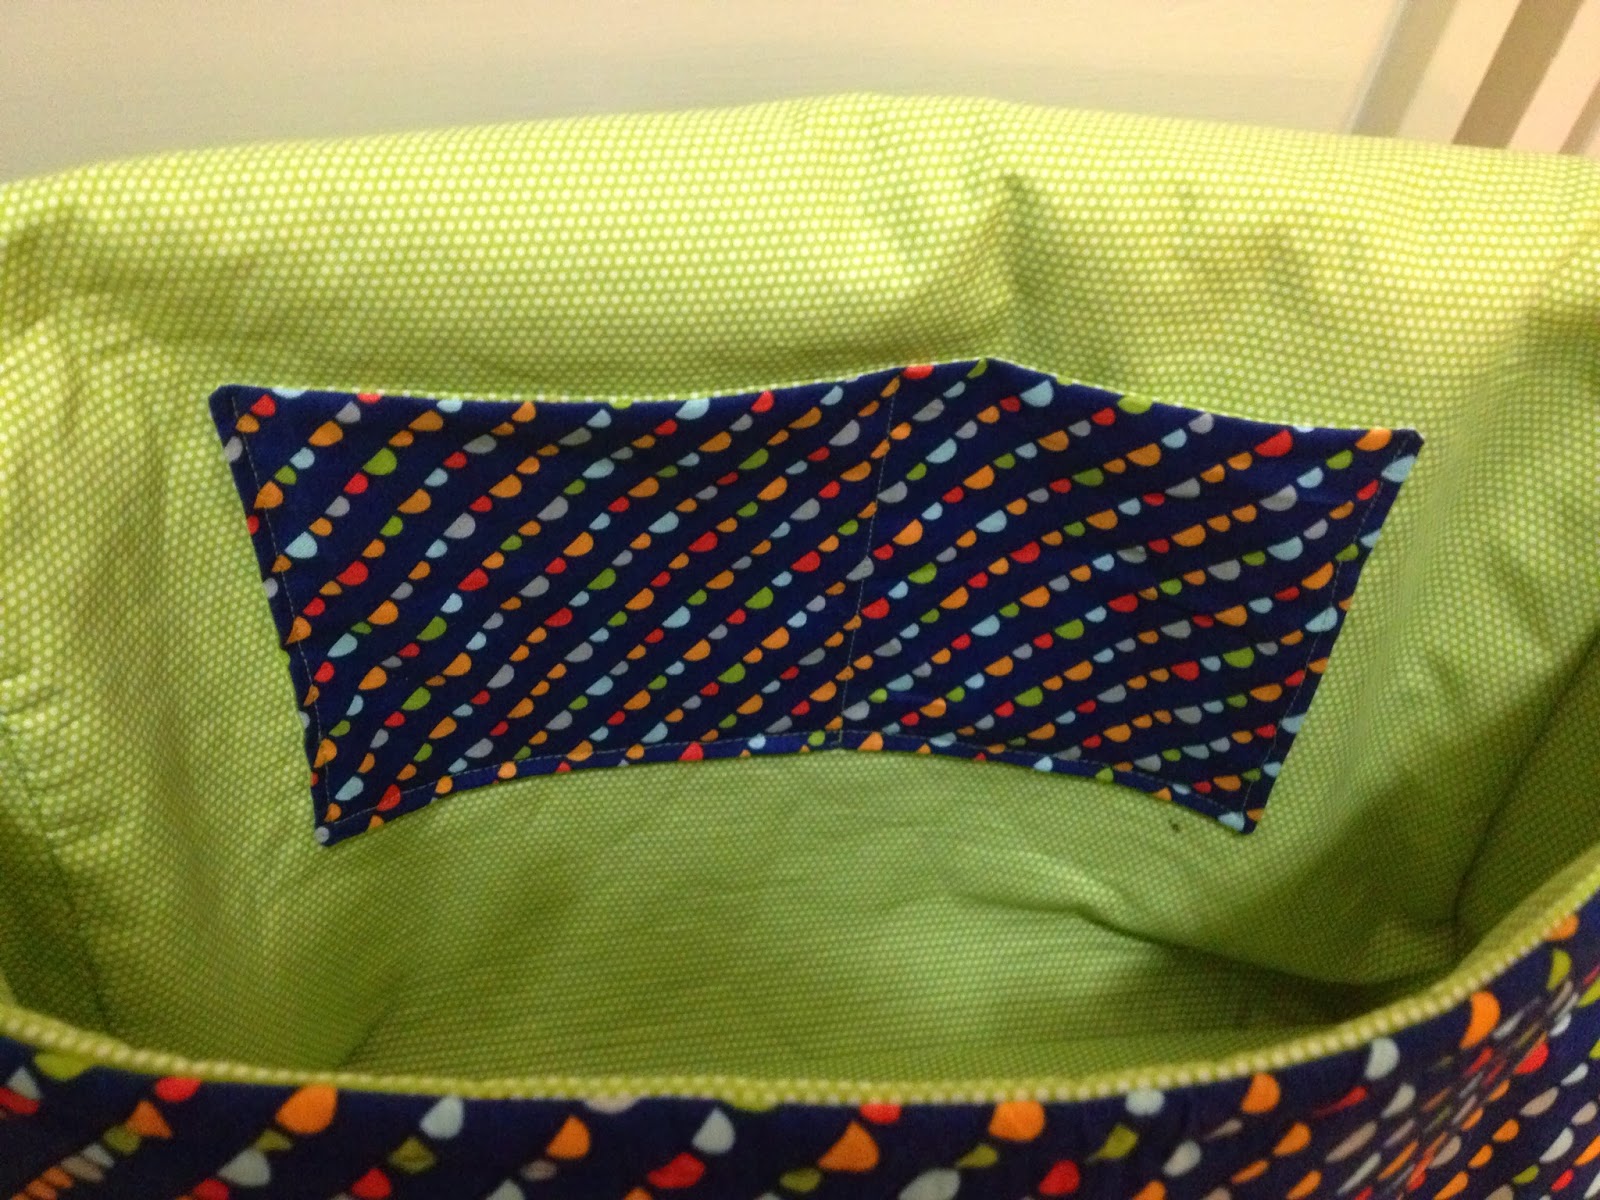
So I cut up my Bonnie and Camille scraps as soon as I finished making the One Piece Bag last weekend and this is what I ended up with:


a fat quarter, some 5", 2 1/2", 2", and 1 1/2" squares, and some strips that were 2" and 1" wide. Then I immediately put them in the correct bin by size.

I'm always drawn to scrap quilts so if I stay with this method I'll have lots of useable scraps with which I can make projects.

Tuesday, November 5, 2013

The One Piece Bag

I downloaded the November Schnibbles pattern, Morning Joe, and I chose my charm packs - this time I'll be using two different Minick and Simpson lines: Indigo Crossing and Midwinter Reds.  But I wanted some non-white background fabric, so I'll have to wait until my Fat Quarter Shop order arrives before I can start.

Instead, I got busy on a making a bag I've wanted to make since I first saw the pattern: The One Piece Bag, by Fig Tree.  I bought the pattern back in May and the fabric and supplies in early August, but I had to wait until now for some extra free time.


I used two fabrics from Happy Go Lucky by Bonnie and Camille.

I made only one modification - I added a lined divided slip pocket to the lining. I need a spot for my cell phone and keys so I'm not fishing all over the bag to find them.


This pattern was definitely straight forward, but you aren't spoon-fed the directions. When it says you need a 5" strip, that means you need a 5" by WOF (width of fabric) strip.

This bag is large - 14" tall by 17" wide. I had originally planned to use it as a purse, but it's bigger than I would normally use. I just found out last week that I'm going to have to split my work week between two different offices.  I'll be at my primary office Mondays, Wednesdays, and Fridays, and the alternate location on Tuesdays and Thursdays.  So this bag is the perfect size for carting files and notes back and forth between the two locations.


As for how long the bag took to make, I cut out the fabric and ironed the fusible fleece in the morning - maybe an hour and a half total.  I spent 4 hours sewing it together. The thing that gave me the most trouble? It was the bag feet. I had never used them before and really struggled with the first one, but once I figured out to "carefully" use the tip of my scissors to make the holes, it went much easier.

I can see myself making this bag again at some point. It would make a great carry-on bag for the plane or a nice gym bag (I have two big towels in there for the picture below).


If you're interested in making The One Piece Bag, you can buy the pattern here.

Friday, November 1, 2013

Turkey Lurkey

Well October was a very busy month and I didn't sew anything until the last two weeks.  So it was a race to the finish to complete Clover and my November mini quilt, but I put the last few stitches in the binding on Tuesday.

Meet Turkey Lurkey:


Mr. Lurkey was hand appliqued and hand embroidered.  I love that leaf border fabric.  It has a retro feel that reminds me of dishes and cookware my Mom had in the 60's and 70's.

This is one turkey that doesn't have to worry about becoming Thanksgiving dinner!